Tuesday, 13 September 2022

How to use Block Manager Part 2

Diese Website verwendet Cookies von Google, um Dienste anzubieten und Zugriffe zu analysieren. Deine IP-Adresse und dein User-Agent werden zusammen mit Messwerten zur Leistung und Sicherheit für Google freigegeben. So können Nutzungsstatistiken generiert, Missbrauchsfälle erkannt und behoben und die Qualität des Dienstes gewährleistet werden.

Look what happened at Pat I: 
* You know where to find Block Manager, * how to create a new palette and a new block. 
* How to set the properties, 
* how to define the mask and parameter * and to set placeholder for the parameter in the code. 
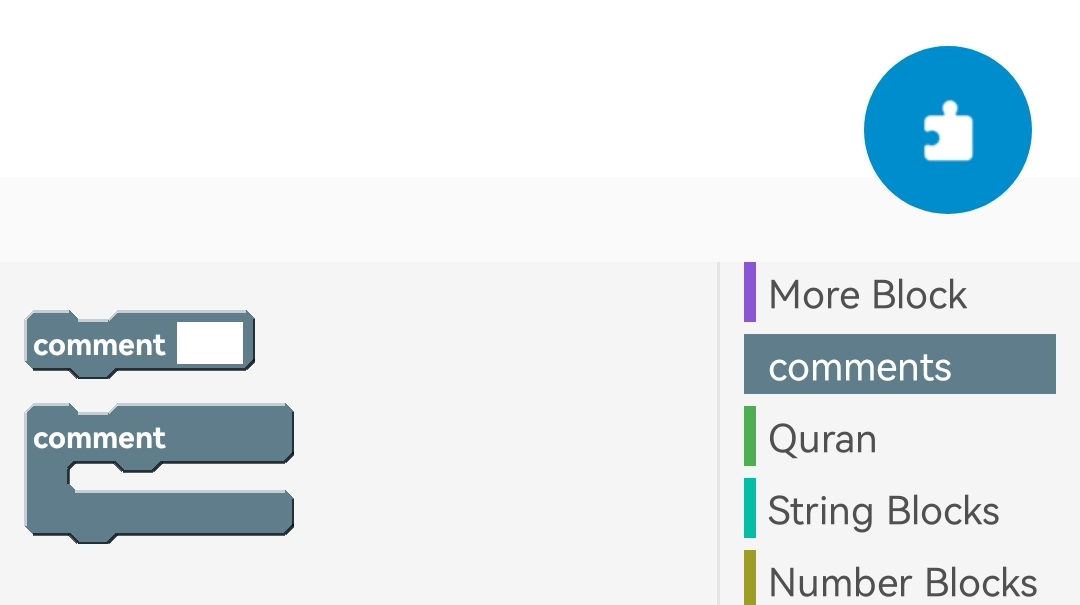
* At last we tested the new blocks in a comment app.

This part shows to copy java code to the block and to replace the parameter with placeholders. 
For this reason we take a tutorial of 
Sketchwarehelp.com and take the code for the Asd- blocks for to generate the new blocks.

I have made a address list with Listview listview1 on Main activity.
Set the custom view of listview1 to listview1.
In the custom view i added three linear horizonal.
Inside linear1 i add two TextView for first name and name.
Inside linear2 i add one TextView for street and 
inside linear3 i add two TextView for postal and town.
Set padding of all three linear to 0 for to look it smaller.

In onCreate event add 
* Map map 
* ListMap maplist
Add a new mapp and put five items to it with even keys: first name, name, street, postal, town. Then add the map to the maplist. 
You can copy this as for how much entries you want and fill the values. 
At the end set custom view data of listview1 to maplist and refresh the list.
Close the onCreate event.
Add the onBindCustomView event
Set for every TextView the text to the according list item with specific key at position.
You can now run the app first time to see how's looking

In the tutorial you now create a more block. But instead we now create the sort block.
Start Block Manager and add a new palette. Title 'Sort ListMap' and give it a color. 

Open the palette and add new block.
Set properties to: 
name: sort ListMap
type: regular (r)
color: as you want 
 Now write into the the mask "sort " and
click the parameter listMap
Cntinue writing " according to key " and click parameter string.
Now go to the tutorial and copy the red written code.
The first parameter stands for the maplist. You must now search the maplist 
'_mylist' in the code and replace it with the placeholder %1$s.
The second parameter stands for the key string. You must now search every '_key'
in the code..
 ..and replace it with %2$s.

💡You must do that for every parameter you add in the mask. For the third parameter search every of it in the code and replace it with %3$s, for the fourth parameter replace it with %4$s and so on. But here we have only two parameter.
That's it. Click save to create the block.

On MainActivity add now a Spinner spinner1 over the ListView. Open the onCreate event and add a ListSring stringlist. Add now for the keys a entry to stringlist and set it's data to 
spinner1.
Leave the onCreate event and add for the spinner the onItemSelected event.
Open this event.
Add a if block with condition 'position= 0'
Inside refresh the ListView.Its time to use your block. Open the block list and find it.
Drop it above the refresh blocks inside the if block. Set the ListMap to maplist and the key string to the first key: 'first name'Copy this if-block three times and make changes to the number and key strings.
Now if you click the spinner, you can sort it by first name, name, postal and town.
You can now start the app. 👍
📝 In the tutorial of Sketchwarehelp.com there is also the code for sort reverse. You can also create a block in the same palette, name it sort reverse add the listMap and key string as parameter and paste the sort reverse code and replace the parameter with the placeholder like descripted below. 
You can then add three sort reverse items for every key in the list for the spinner. 

Sunday, 11 September 2022

Add blocks and components to Sketchware Pro

Diese Website verwendet Cookies von Google, um Dienste anzubieten und Zugriffe zu analysieren. Deine IP-Adresse und dein User-Agent werden zusammen mit Messwerten zur Leistung und Sicherheit für Google freigegeben. So können Nutzungsstatistiken generiert, Missbrauchsfälle erkannt und behoben und die Qualität des Dienstes gewährleistet werden.

Once you have installed Sketchware Pro first time, you only find a view of blocks and components.
But you can add a lot of blocks and components to it.
Open this 

Click in the video on 'YouTube' button to open the Video in YouTube web page.
In the description of this video you will find the link to the blocks app and the components zip file called system.zip.
Download and open the blocks app.
Click Auto add to add the blocks to Sketchware Pro.
You can also click Custom add to select specific blocks to import to Sketchware Pro.

Open in Sketchware your project and see all the blocks you added. 😄
Unzip the system.zip files to directory:
. Sketchware/data/system/
Open again in Sketchware your project and see all the components you added. 😄

Hope you enjoy it! 
👍

How to use Block Manager Part 1


Diese Website verwendet Cookies von Google, um Dienste anzubieten und Zugriffe zu analysieren. Deine IP-Adresse und dein User-Agent werden zusammen mit Messwerten zur Leistung und Sicherheit für Google freigegeben. So können Nutzungsstatistiken generiert, Missbrauchsfälle erkannt und behoben und die Qualität des Dienstes gewährleistet werden.

Hello, 
in this lesson you learn to use one of the powerful tools of Sketchware Pro: 
The Block Manager
You can create, update, delete and save palettes and blocks as you want. 

Where to find the Block Manager?
The Block Manager is the first part of the Developer Tools.
In case of there are two ways to open the Developer Tools, there are also two ways to open the Block Manager by open the Developer Tools: 

* First method: When start Sketchware, open the left Drawer and scroll down. There you find the Developer Tools. Click it and the Block Manager is the first entry.

* Second method: When you in a app project and edit one of the events (like onCreate or onClick...) click the right drawer. Here you find Developer Tools on top. Click it and you find the Block Manager.

Create comment blocks 
So far, let's learning by doing a example.
In this example we create comment blocks.

Comments are important to get information to you and other programmer to understand the code/blocks.
Also you can comment several blocks to try another possibilty. If the changes work you can delete the comment. If it doesn't work delete changes and uncomment the blocks to restore it.

That's our plan:
In the first step we create the app with Asd blocks to code the comments.
Then we make in the second step the comment blocks and
replace in the third step the Asd blocks with it.

(For understanding: Asd mean 'add source directly'. You find it at the bottom part of the Operator palette.)

Let's begin with step 1:
Create a new project and in the Main view add 
a TextView textview1 
and a Button button1.

Go to the onClick event of the button.
Add Asd- blocks and 'TextView set text' blocks as shown below.
Set TextView of both blocks to textview1.
Set text of first to "This text will not be shown".
Set text of second to "This text will be shown".
Now fill the Asd blocks as shown below to create comments.
The first Asd is a single line comment.
The second and third Asd comments the first TextView block so only the second TextView block will working. 

💡TIPP: Quickly show the code. 
Click on top to the <\> Button.
Now you see the code you have created.

This can be important to see and understand how the code works. You can also select and copy a part or all of the code. (for example you can copy code for to use it in your blocks.)
The grey colored code shows the comments. You see the first TextView block is grey and commented.
The black / blue colored code will be compiled and working. This will take effect to the second TextView block.

Close it and run the App.

If you click the button the second TextView block will take effect.
Step 2: Create the comment blocks 
Now it's really time to create the blocks. 
Open the Block Manager.
Add a new palette.
💡TIPP: Add palette as place you want.
If you click the '+' fab button the palette will be added at the bottom of the list.
This can be worse if you every time must scroll down the complete list to bottom.
But there is another way:
Find the palette you want to create above and longclick it. Then select 'Insert'. 
Give the palette the name 'comments' and set the color (i set it to dark grey)
Save and the new palette is created.
Click the palette to open it and add a new block.
Set the properties to: 
name: line comment
block type: regular (r)
and the color to dark grey
Under the color entry you find the mask as preview of the block.
Click the texthint 'block spec' and write "comment" then click parameter 'input only'. 
You see now the text
 "comment %s.inputOnly"
%s.inputOnly represent a input field for code text . It is the first parameter in the mask. If you want you can add as many parameter as you want for ex. boolean, string, number, text field, button, list view etc. 
At last we must insert the java code.
"// %1$s"
// stands for a comment
%1$s is the java placeholder for the first parameter you added in the mask,here the code input %s.inputOnly.
click save and you added your first block 👍

Go on and create yet another block.
Properties are:
name: multi line comment
type set: if-block (c)
and color to dark grey
Write "comment" to the mask hint.
Write the code
 "/*
%1$s
*/"
Here the code of the if-like block begins with/* and ends with */ This stands for a multiple line comment.
The placeholder %1$s stands for the code included in the if-like block.
Click save and look the two blocks you created. 👍👍
💡TIPP: Export your blocks to storage
You can export and import blocks. Click the three Dots on the right top side and then 'Export blocks'.
You find now your blocks at the directory:
. sketchware/resources/block/export/comments.json
On same way you can import blocks.

Close the Block Manager and go back to make changes take effect.
It's time to see the blocks in action in step 3:
In your project open the onClick event.
The blocs are shown as before.

Open now the blocks list and add your comment blocks. Enjoy to see your blocks first time 😀
Replace all Asd blocks. Add the text "This is a single line comment" to the line comment block and drag and drop the first TextView block inside the multiple line comment block. 
If you click the </> button to show the code, you see that the code is the same as before.
Run the App and click the button. The result is the same as before: Only the second TextView block will take effect.
Congratulaton 👍
You created your first own blocks and tested it.